Vivo X9 Plus is now into the market with great screen and specifications that are generally seen in high-end devices. Guide to take screenshot on Vivo x9 plus is very easy. We have different procedures to take screenshot on Vivo X9.
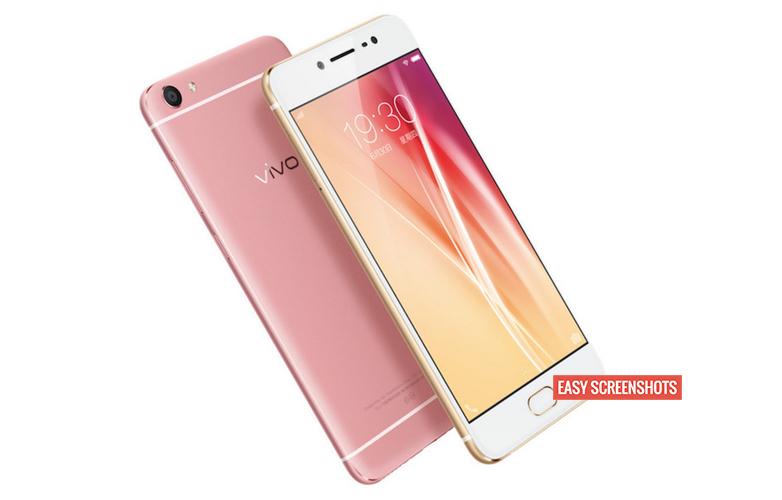
Best Methods to Take Screenshot on Vivo X9, Vivo X9 Plus
Contents
Take Screenshot on Vivo X9 Plus using Notification Toggle
- Go to the screen which you want to capture on Vivo X9 Plus.
- Drag down the notification bar and Tap on Screenshot Toggle and you will see click sound.
- Browse through your gallery and find the recent screenshot taken on Vivo X9 Plus.
This was the simplest of all 3 step screenshot taking procedure for Vivo X9 Plus. If you do not find Screenshot notification toggle on your notification bar, then first edit the active Notification Toggles and add Screenshot toggle to active list.
Guide to Screenshot in Vivo X9 Plus Using Hardware Buttons
- Navigate to the screen which you want to Capture on Vivo X9 Plus.
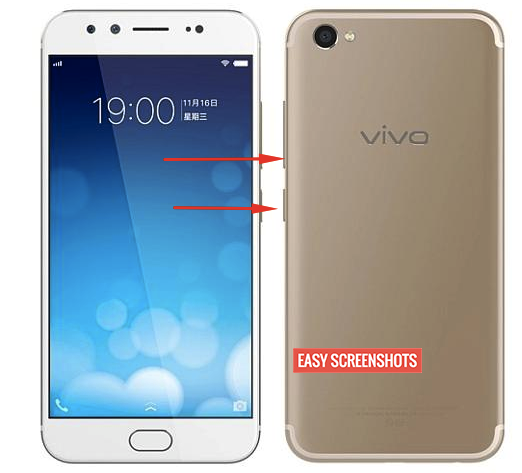
- Press Volume Down and Power Button together until you hear a click sound or flashing of the screen.

Press Volume Down and Power button together Vivo X9 Plus
- Drag down the notification bar to see the latest screenshot taken on Vivo X9 Plus.
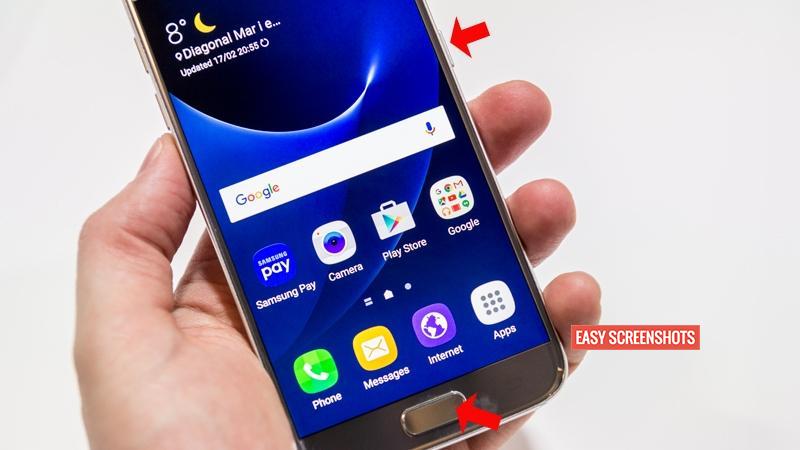
If pressing Volume Down and Power Button didnot work to take Screenshot on Vivo X9 Plus, then one can also try Pressing Home Button and Power Button together.
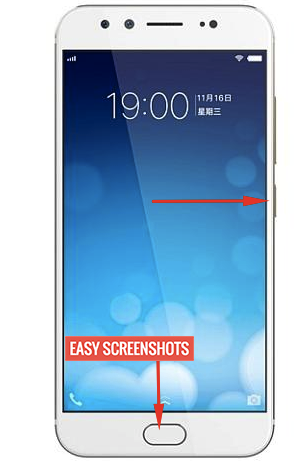
Press Lock and Home Button to take screenshot vivo x9 plus
Long Screenshot or Partial Screenshot on Vivo X9 Plus
Android 7 Nougat adds this premium feature of taking long or partial or selective screenshot on Vivo X9 Plus. It is an interesting method to save your memories in form of screenshot that are actually scrollable.
Follow the Guide: How to Take Long Screenshot on Android 7 Nougat to capture scrollable screenshot on Vivo X9 Plus.
If you are struck anywhere, then feel free to comment here.

